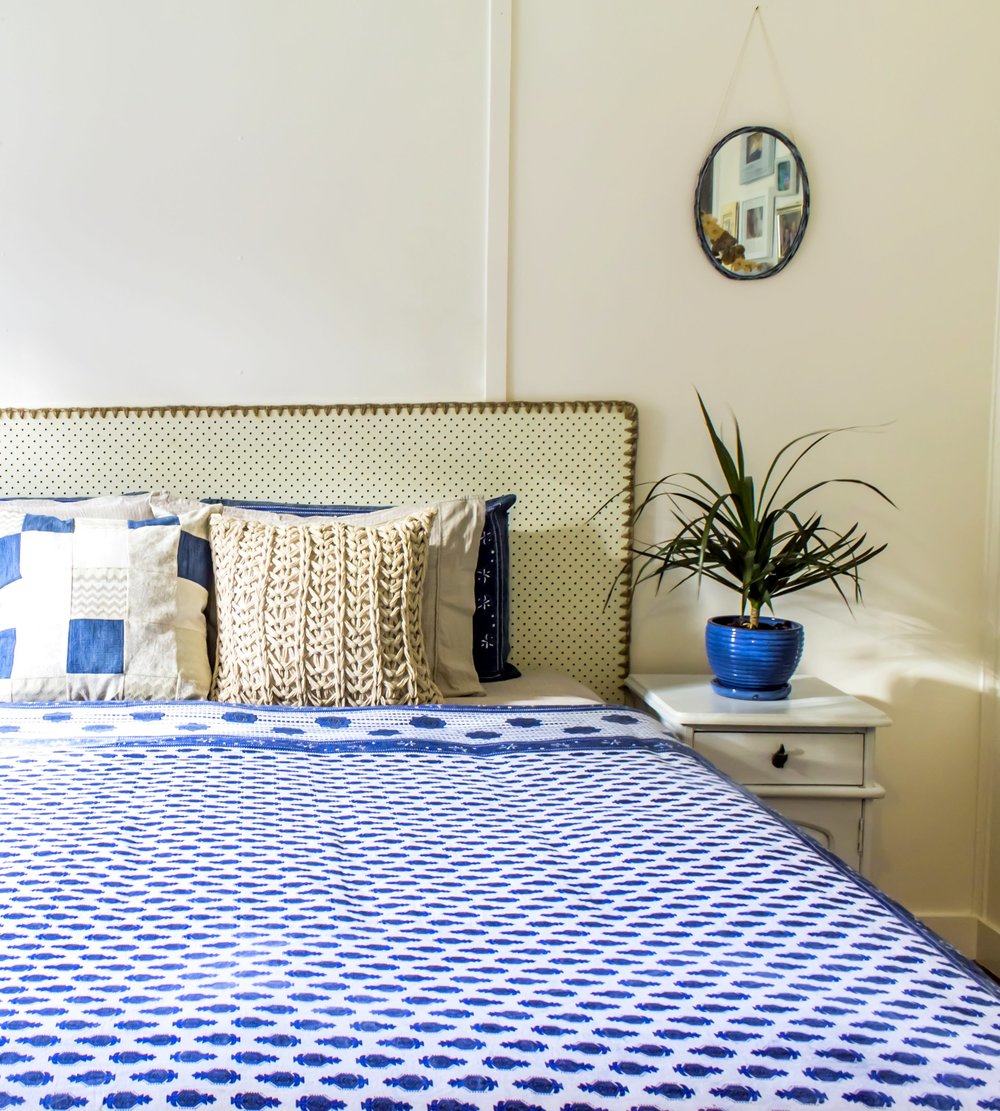
DOUBLE CROCHET TRIM TRIM ON PEGBOARD BEDHEAD – TUTORIAL
CROCHET TRIM FOR YOUR BEDHEAD
It’s always very tempting to attach the word ‘easy” to most tutorial style posts because let’s face it, everyone likes to do things with ease. Having said that, if I used that choice of word here – I would be totally fibbing you. I would be pulling your leg! Yes, I too am quite partial to an “easy tutorial” but the truth is….some projects simply take a little more work and energy. This project does require some effort but having said that, it’s VERY worthwhile, fun and doable.
TIPS
Here are a few quick tips that will help you find your groove with this project;
- Space is important – it is a big chunk of pegboard that you’re working with therefore you will need space to do it comfortably.
- Inflexible peg holes – The size of the peg holes are small and inflexible. You will need a small crochet hook to get around this limitation, a relatively thin ply twine or wool thickness and lastly perseverance to stick with finding a double crochet rhythm. Try having a few non-serious style practice runs and you will naturally find your own crochet rhythm.
- Grab a stool – I found a bar stool was the perfect sized chair to complete the majority of this project.
- Tunes – And lastly you will definitely need a few tunes to help you relax and find your zone with making this bedhead.
REQUIREMENTS
- 1 x sheet of Pegboard Masonite (1830mm X 915mm X 3mm). This was the perfect sheet size for a king sized bed and the bonus is – that it did not need any alterations. The Cost- $22 and available from your local hardware.
- Twine or wool (thin ply)
- 0.5 Crochet hook (small enough to fit through the Pegboard holes)
CROCHET PATTERN
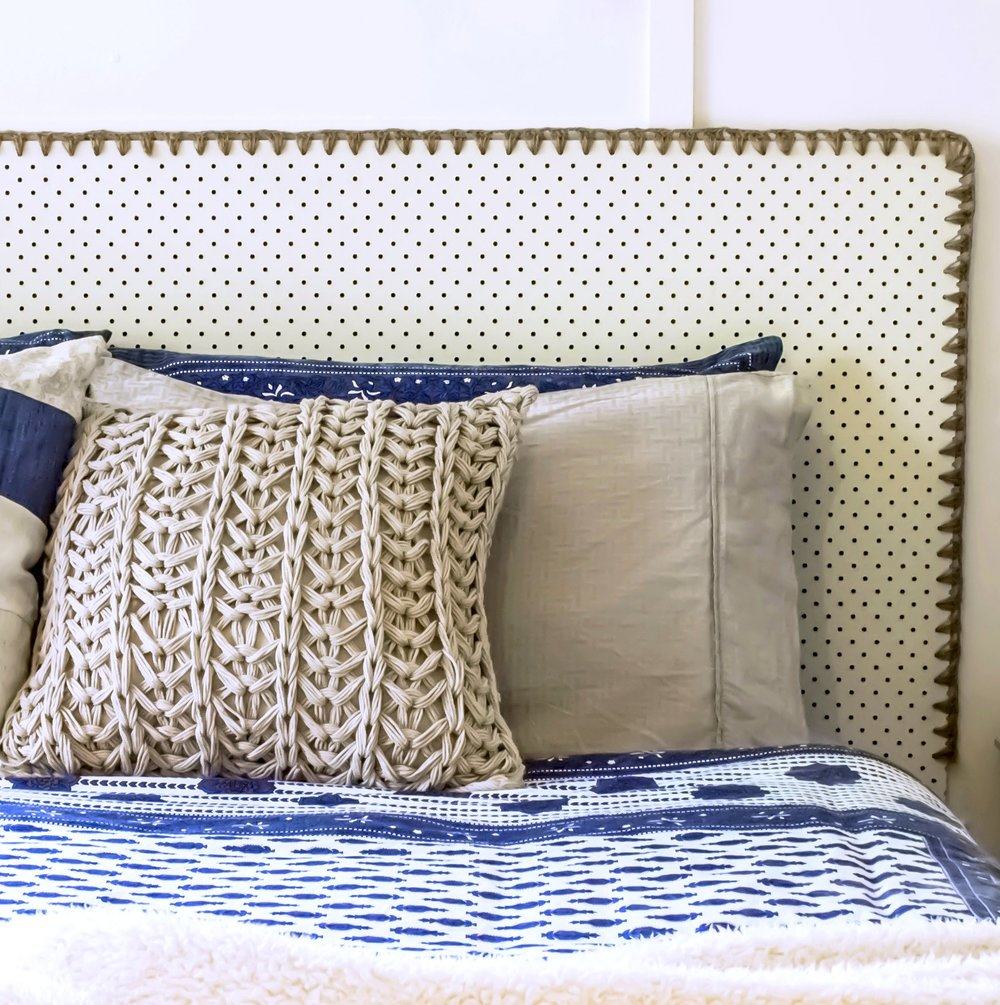
Slip Stitch into your first hole (I counted down 24 pegboard-holes on the right side of the pegboard which reached just below our king size mattress). I then worked upwards to the right corner, straight across to the left and then down 24 pegboard holes, on the left side of the pegboard .
- 3 x Double Crochet into each Peg Hole,
- 3 x Chain
- then repeat 3 x Double Crochet
On each corner you do 3 x DC, 1x Chain and then 3 x DC into the same hole. It does get squeeze-y but still doable.
If you have never crochet before but would like to try this project, here is a tutorial from Meet Me at Mikes to learn an easy chain stitch and here is a video to learn to double crochet. They are the only two crochet stitches you need to know for this bedhead and they are the easiest stitches to learn or re-learn. Yes, I re-taught myself to crochet especially so that I could share this project with you – lets just say that it had been a little while between crochet adventures, like a “primary school” kind of while.
Rachael
*DC= Double Crochet and C= Chain
Previous Post
PINEAPPLE BUNTING TUTORIAL
Next Post
MY STYLINGS IN AUSTRALIAN COASTAL & WINKLELEN MAGAZINES
4 Comments
Thanks Jill. I had a lot of fun working it out. My motto was that Jaqui Fink would never give up on an idea so I had to keep going he he. Thanks for popping by gorgeous xx
That is crazy cool. I’m not sure if I would be confident enough with my crochet to try it, but damn you do a good tutorial hun and have me totally tempted xx
So glad Sonia! Looking forward to seeing more of your home makeover pics sweet. I too am painting this week so your posts are helping motivate me. Xx


